In 2016, the self-hosted community witnessed the public launch of Nextcloud, a vastly-improved fork of ownCloud. Having almost finished migrating data on my home server to Nextcloud and experimenting with some of the more optional features such as caching, pretty links, theming and more, I felt it would be a good time to document some of this in one simple-to-follow guide.
1. What is Nextcloud?
As mentioned above Nextcloud is a fork of ownCloud that has becoming the better and faster-developed alternative to the self-hosted cloud storage software of old. If you’re an ownCloud user and have ever been frustrated by the dual licenses, the paid vs free model and – as part of it – lack of some of the better features, Nextcloud have gone completely FOSS (Free and Open-Source Software) following the Red Hat model of charging for enterprise support rather than enterprise features.
Some of the previously enterprise-only features released as part of the standard FOSS Nextcloud installation include FileDrop, an alternative to Dropbox’s “File Requests”, LibreOffice online (Collabora), an alternative to Google Docs or Office Online, two-factor authentication, improved federation and more.
2. In this guide
After completing this guide we’ll have the following:
- A newly installed Nextcloud server
- PHP caching provided by ACPu and Redis for a notable speed increase when navigating even the largest thumbnail-heavy folders
- Pretty links that remove /index.php from the URL
- SSL-enabled with default self-signed certificates and all non-HTTPS traffic redirected
2.1. Installation URL
This guide assumes Nextcloud will be accessed via url.com/nextcloud. If Nextcloud should be accessed on the root of the domain, url.com, keep in mind the following:
- Any
vhostentries in Apache configs referring to the directory path/var/www/htmlshould be changed to/var/www/html/nextcloud - The Nextcloud
config.phpbase URL should be changed from'/nextcloud'to'/' - Lets Encrypt will work, however the
.well-knowndirectory will need to be moved out and back in to thenextclouddirectory before and after an upgrade respectively to avoid an integrity check error.
3. Environment
For this guide Nextcloud will be installed on a remote Ubuntu VM, however it can equally be installed on a local Ubuntu server, a Raspberry Pi or a Linux Container such as Docker or LXD.
3.1. Hardware
Nextcloud don’t provide a lot of detail for minimum recommended spec, only advising 512MB of RAM. As the server is a full VM and not simply a container, we’ll provide a bit of a buffer to avoid any possible contention.
- 1GHz CPU
- 1GB RAM
- 20GB HDD
20GB of disk will be enough for this guide, but naturally the amount chosen should reflect the amount of data to be stored. Furthermore, if redundancy isn’t offered as standard it’s always a good idea to mirror/RAID the storage area to avoid downtime as best as possible. Typically this is only a consideration required with dedicated servers, but there’s no harm in checking.
3.1.1. Plan backups
No matter what level of redundancy is set up, it’s not a replacement for a good backup strategy. Never assume data is safe in a remote datacentre as usually providers offer no liability or responsibility for lost data should a server fail.
3.1.2. Nextcloud is not a backup solution
Nextcloud is a not a replacement for typical backup solutions or processes but rather a tool for collaboration and sharing. Do not rely on it as the sole solution for protecting your data.
3.2. Software
- Ubuntu server (LTS preferred) with root (sudo) access
- Apache2
- PHP 7
- mySQL / MariaDB
- The latest version of Nextcloud (this guide has been tested as far back as v.9 however)
Besides the above-mentioned packages and their respective dependencies, we should aim to keep the amount of additional software installed to a minimum; the Ubuntu-minimal image is a good place to start here as it requires adding packages after installation rather than sifting through and removing those that aren’t required. From a security perspective this is advised in order to lower to attack surface should an exploit allow a 3rd party to gain shell access to the server – the fewer additional services an attacker can latch onto, the lower the chance of gaining root and doing any real damage. In this case, the VPS provider offers a relatively minimal install, meaning there’s no requirement to upload an Ubuntu-minimal ISO to install from.
Due to the advanced requirements in this guide, root/sudo access to the Ubuntu instance is mandatory.
4. Setting up the environment
For those with a functioning Ubuntu server and required components, please skip to step 4.1.
First we need to spin up a VM or container, examples of which are as follows:
- LXD, ZFS and bridged networking on Ubuntu 16.04 LTS+
- Setting up an Elastichosts Ubuntu VM
Once the server is setup and we’re logged in, we can continue.
4.1. Update the server & install LAMP, APCu, Redis
As this is a brand new installation based on images that likely don’t update very often, it’s a good idea to upgrade the server before we begin:
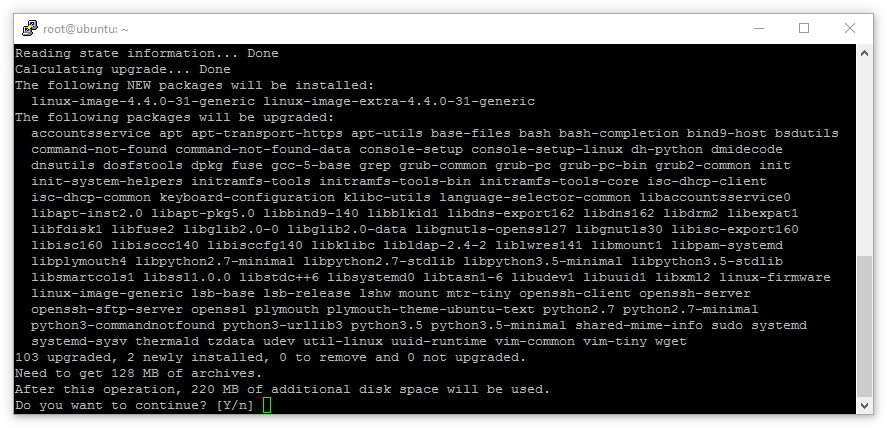
When the update has completed, it’ll provide a list of packages to be upgraded. Providing we’re happy with what we see, tap Enter.
With the server updated, if one doesn’t already exist, a non-root user should be created with sudo privileges and the root account should disabled, once complete we’ll now install the required components for Nextcloud:
4.1.1. Meta packages
The use of ^ (caret) in the package name is important. It suggests that the installed package is a ‘meta-package’, meaning a number of programs that are usually installed together.
This command will install Apache, MySQL and PHP along with several PHP/Apache modules to ensure seamless collaboration between the packages. Once happy with the package selection to be installed, tap Enter.

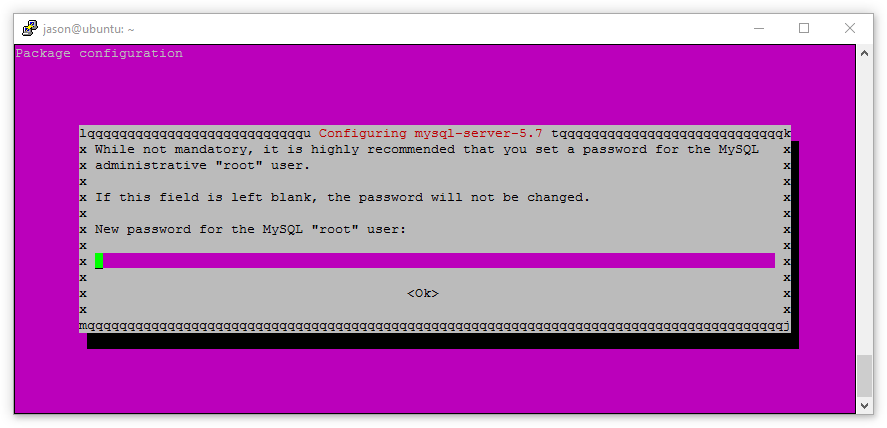
MySQL will request a root user password. Ensure this is strong and keep the password safe; losing it can cause all manner of issues.
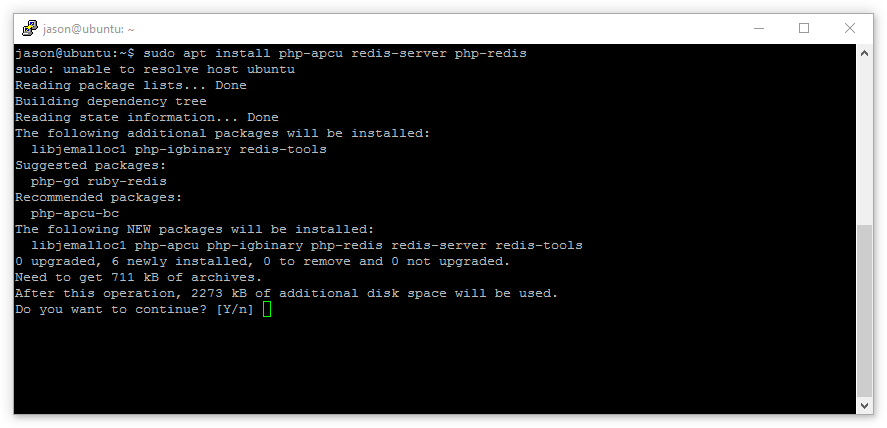
Once installed, we’ll now install APCu and Redis:
Confirm the packages to be installed match expectations and hit Enter.
Finally, we’ll install the minimal Nextcloud PHP modules required not to error during installation (more can be enabled later):
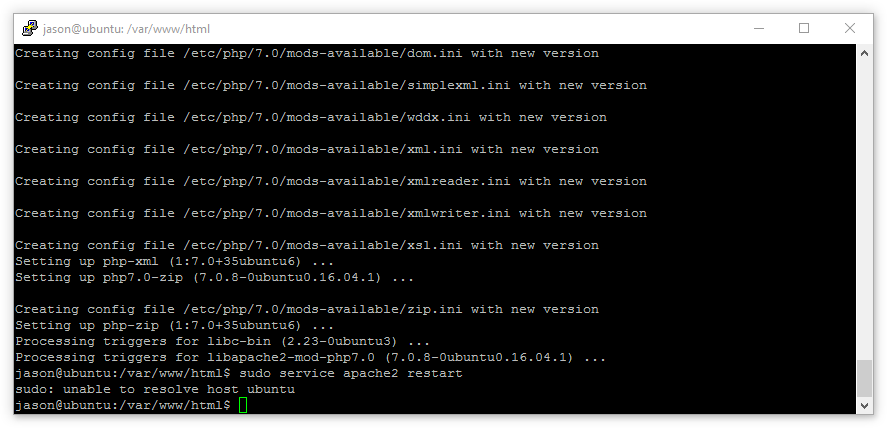
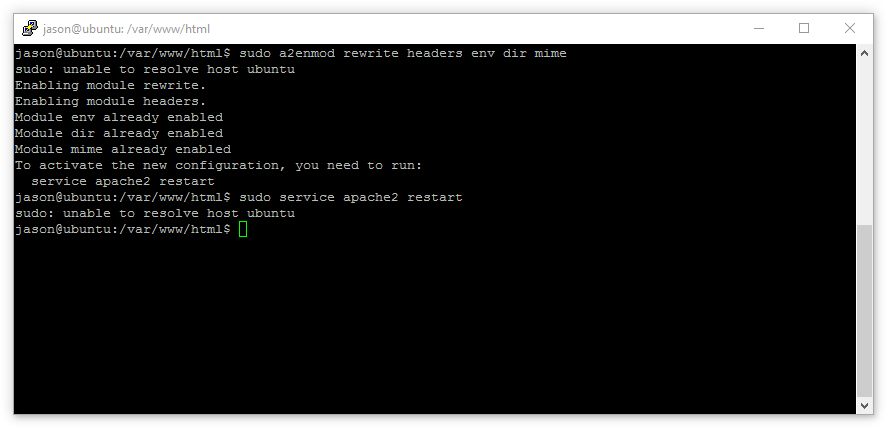
And enable a few apache modules to support our configuration:
Now we’ll restart Apache:
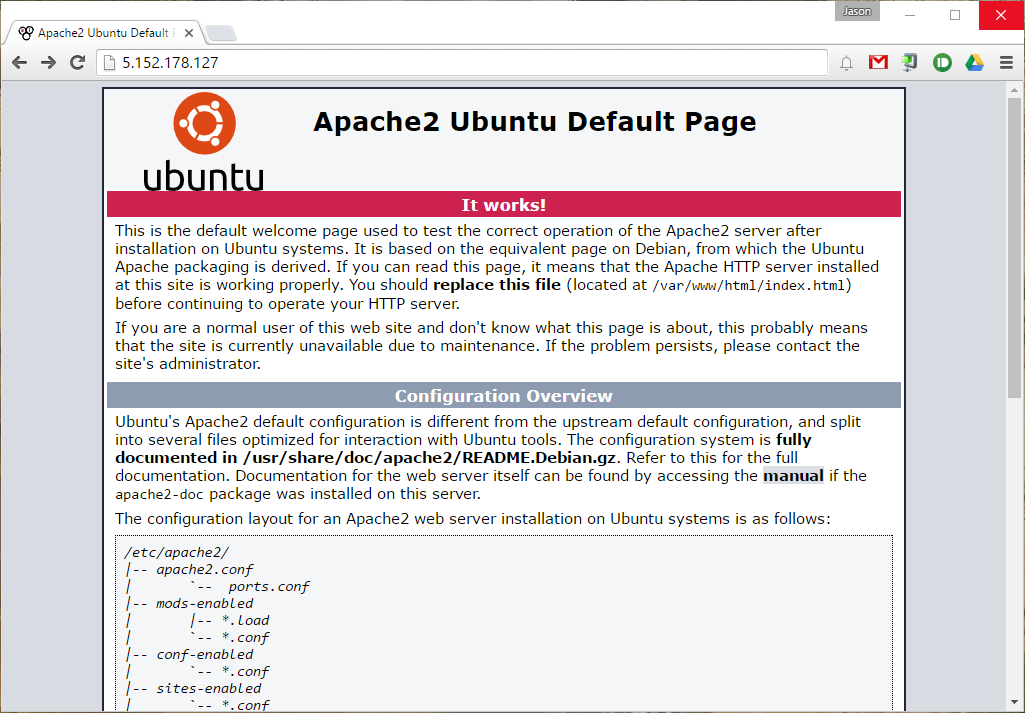
Before moving on check via a browser that Apache is up and running
4.2. Enable SSL
With the server currently running over HTTP port 80, we can now additionally configure SSL to ensure the Nextcloud installation is secure.
4.2.1. Let’s Encrypt
Let’s Encrypt offers completely free SSL certificates for securing websites. The client is entirely command line based offering simple setup and automated renewal via cron.
First, choose a location (such as /home/user/), download the Let’s Encrypt client and set it as executable:
Next, run the client:
Where:
--apache uses the Apache plugin to fully setup and integrate with the existing Apache configuration
--agree-tos simply pre-agrees to the TOS, preventing it popping up during installation
--rsa-key-size defines the length (and therefore security) of the RSA key. Default is 2048.
--email is the email address to register against the certificate (used for reminders by Let’s Encrypt)
--redirect will create both the SSL virtualhost configuration file and add a redirect for HTTP traffic to HTTPs (80 to 443)
-d is the domain to secure
On first run the Let’s Encrypt certbot will install all required dependencies (following approval), however with the added flags above, will not require any further input to set everything up.

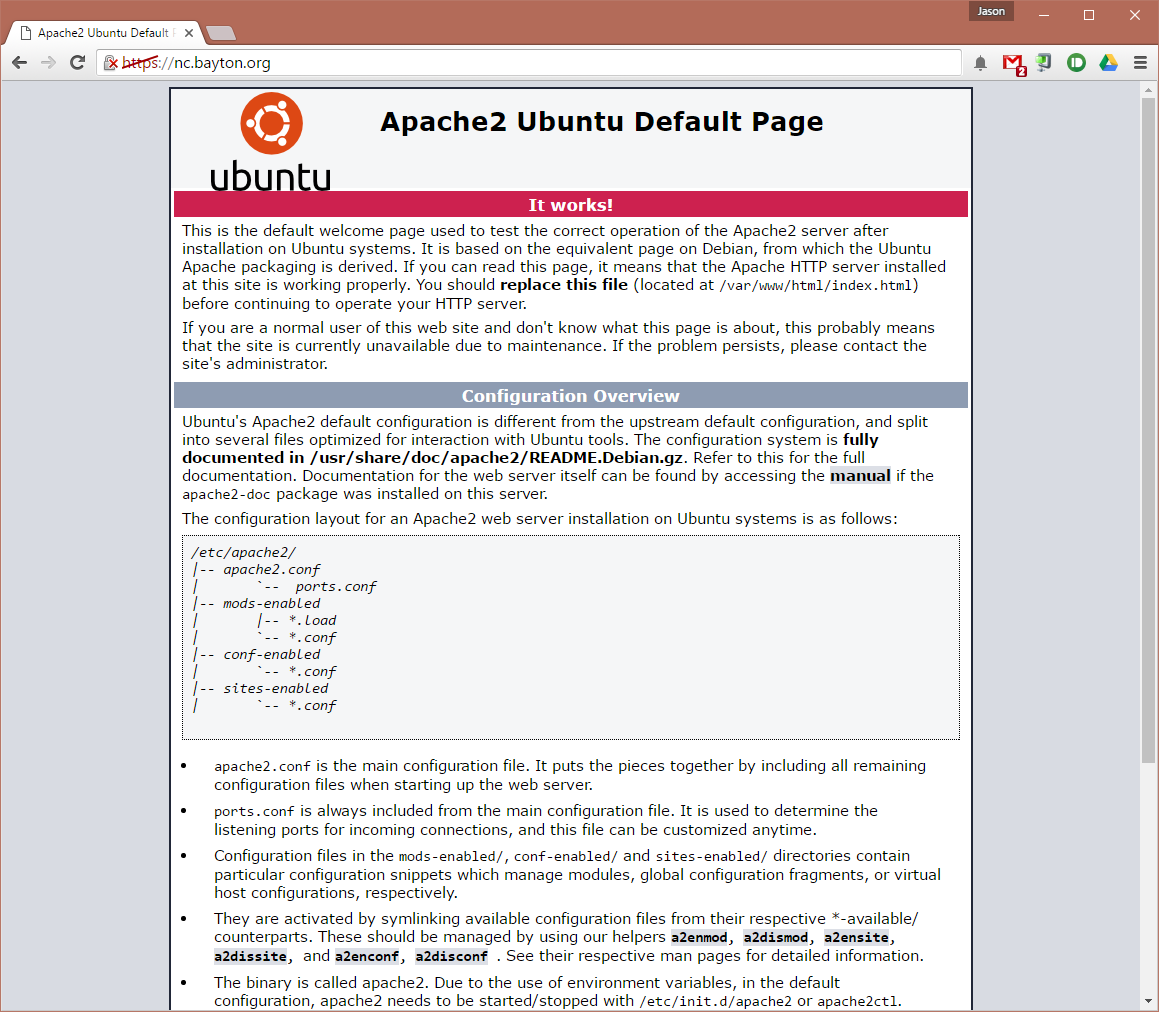
Navigating now to the domain allocated to the server will show an SSL-enabled website! If the browser complains the site is not fully protected at this point, it’s due to the default Apache landing page requesting content over HTTP and not an issue with the certificate.
That’s all there is to it. Let’s Encrypt handles everything from certificate generation to Apache configuration, meaning nothing needs to be done beyond what’s documented above. The manual process (below) is far more involved.
One step from the manual process which is recommended is to add the following snippet to the Let’s Encrypt-created vhost.conf file in the same way as is documented in 4.2.2 below:
The text above may be pasted under the ServerName line in the file located at:
As the certificate currently expires after 90 days by default, to automatically renew the certificate let’s create a cronjob:
This will open the crontab file for the root user (as sudo was used) meaning sudo (and as such, password authentication) won’t need to be used when running the renew command. Add the following line to the crontab file:
Edit the area in bold, then Ctrl + X to quit followed by Y to save the file.
Skip 4.2.2 and continue to Installing Nextcloud.
4.2.2. Manual
We’ll begin by enabling the SSL module for Apache:
Apache sets up self-signed certificates as part of the installation, so for this guide we’ll use those. They can be replaced at any time with functioning 3rd party certificates by editing the vhost file we’ll create next. It’s highly recommended they’re switched sooner rather than later.
Insert the following (all items in bold can be changed to suit the environment):
Save and quit, then enable the new configuration:
Now restart Apache:
SSL should now be enabled, allowing us to navigate to https://nc.bayton.org when we install Nextcloud later. Of course the page will show an error as the certificates are not trusted. Let’s Encrypt offer free SSL certificates and Mozilla offer a tool to help correctly set up SSL on the server. Check them out for more information.
Optionally, we can also force a redirect from non-SSL to SSL with the following:
Insert the following (all items in bold can be changed to suit the environment):
Save and quit, then enable the new configuration:
Then disable the default configuration:
Then restart Apache:
With that, all traffic will be forced to HTTPS.
5. Install Nextcloud
With the server environment ready (excluding some final NC-related configurations) we’ll move on to installing Nextcloud itself.
5.1. Download Nextcloud
Change to the webroot directory at /var/www/html with cd /var/www/html
NB: future and previous versions can be obtained from Nextcloud.
Unpack the compressed zip with sudo unzip latest.zip
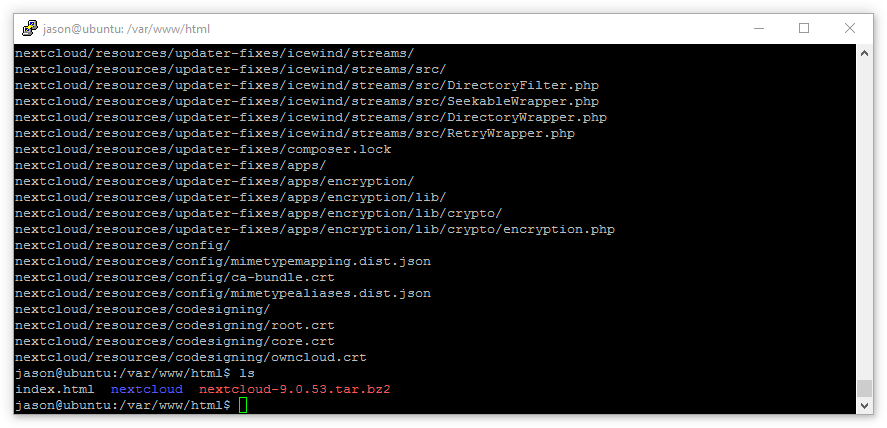
As shown above with ls there’s now a nextcloud folder situated under /var/www/html/ but currently root owns it. We can change that:
Now the Apache account, www-data, will have write-access to the Nextcloud installation directory.
5.2. Create the Nextcloud database
5.2.1. This is optional
By default, Nextcloud can create a database and database user when supplying the root user and password in the Nextcloud web-based installer. The following steps are intended for either someone who wants to create their own database or does not want to supply Nextcloud with the root account credentials.
Before switching to Chrome to run the web-based installer, we’ll first create a database.
We can open a session with mysql by running the command mysql -u root -p and providing the root password we entered earlier.
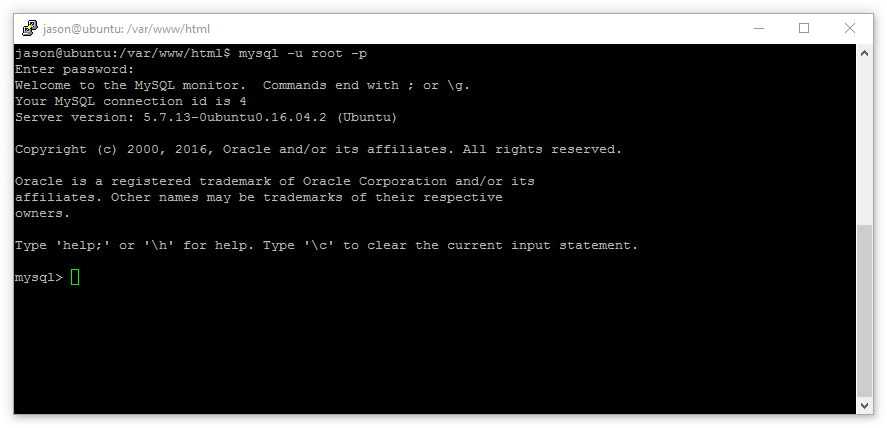
Now we’ll create a dedicated database and user for Nextcloud with the following commands:
Then exit the mysql session with quit

5.3. Install Nextcloud
Open up a browser and navigate to ip-or-hostname/nextcloud. Hopefully by this point a DNS entry has propagated; we’ll navigate to nc.domain.org/nextcloud to continue installation.
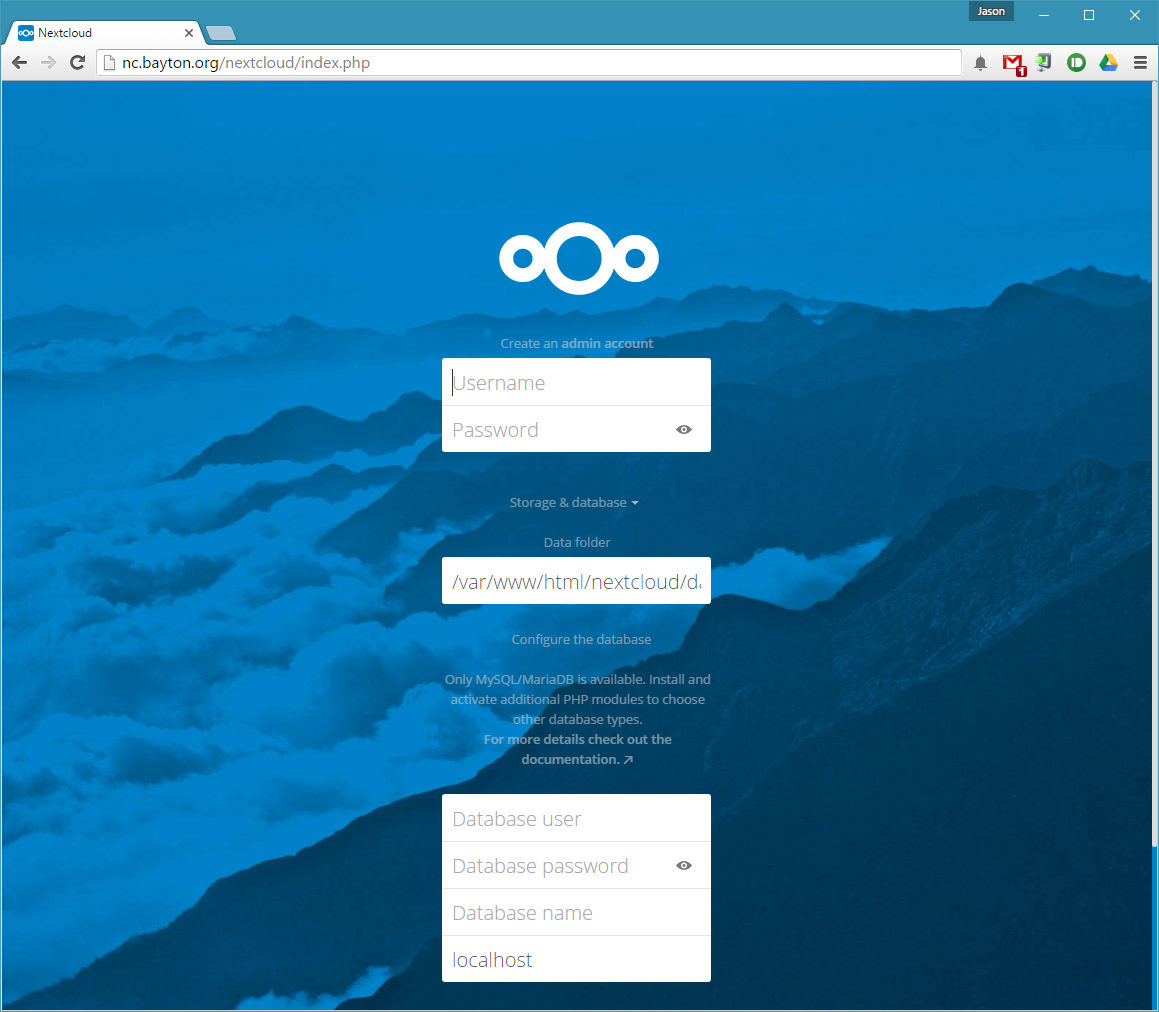
Success! The Nextcloud installation screen is there and showing no errors. Installation from here is simple:
- Provide a username and secure password for the admin account.
- Select a location for the data directory.
- Provide the database user we configured earlier: ncuser
- Provide the database user password: ncpassword
- Provide the database name: nextcloud
- Confirm the database is on localhost (it is).
When selecting a location for the data directory, keeping it in the webroot is really only OK providing .htaccess rules work. If they do not, as is the case at this point due to the way Apache is setup by default, or fail at any point in the future, the data directory will be publicly visible. We don’t want that.
Ideally it’s best practice to situate the data directory outside of /var/www/ in a location inaccessible for guests browsing the website. Where it’s ultimately placed is at the discretion of the administrator, though ensure the user www-data can write to it in its final location with:
Scroll down and click Finish Setup.
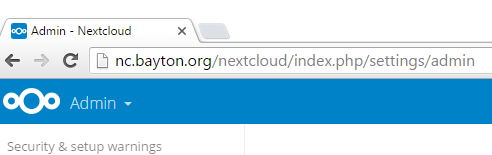
6. Configuration
As it stands currently, Nextcloud isn’t very happy.
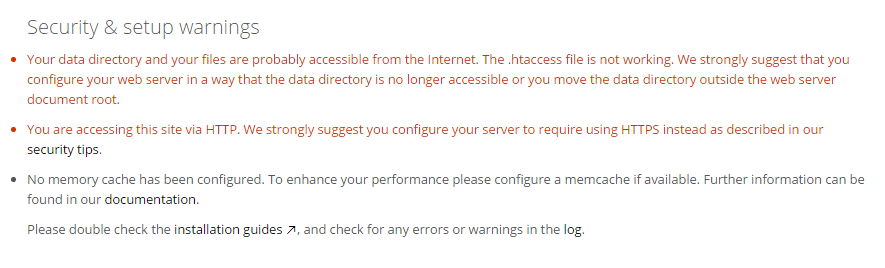
Ignore the HTTP error, this will disappear when we access the site over HTTPS.
6.1. Enable .htaccess
The .htaccess file doesn’t work because we’ve put Nextcloud in the main /var/www/html webroot controlled by the apache.conf file. By default it is set to disallow .htaccess overrides and we’ll need to change that:
Save and quit, then restart Apache with:
6.2. Enable caching
The difference in speed between a Nextcloud server without cache and one with is huge. Particularly as the file and folder counts increase and more multimedia files make their way onto the server, caching becomes increasingly important for maintaining speed and performance. ACPu will handle a lot of the caching initially, leaving Redis to manage file locking. As the server grows and ACPu demands more resources, we could configure Redis to take a more active role in distributed caching. Having installed both APCu and Redis earlier, we’ll now configure them.
First, open the Redis configuration file at /etc/redis/redis.conf
Now, find and change:
Then uncomment:
unixsocket /var/run/redis/redis.sock
unixsocketperm 700 changing permissions to 770 at the same time: unixsocketperm 770
Save and quit, then add the Apache user www-data to the redis group:
Finally, restart Apache with:
And start Redis server with:
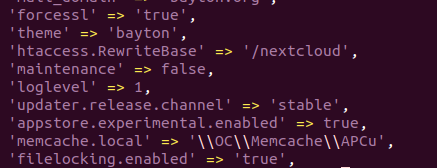
With Redis configured, we can add the caching configuration to the Nextcloud config file:
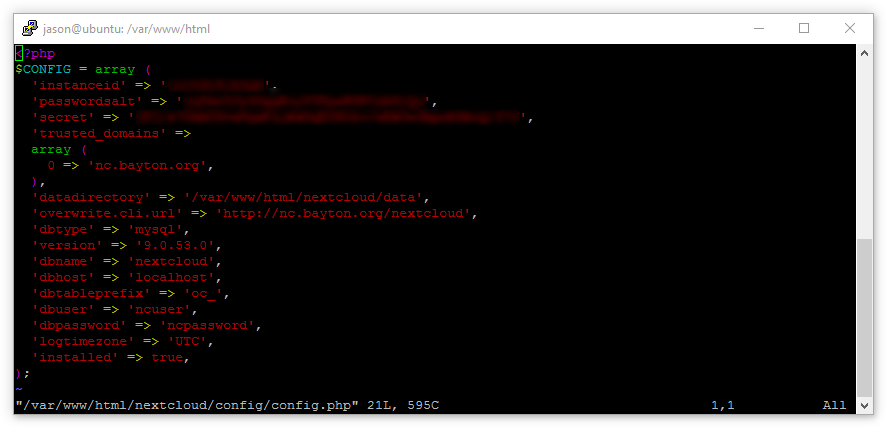
Add the following:
A reboot may be required before the configuration change takes effect, but before we do we’ll make sure Redis is enabled to start on boot with:
Caching is now configured.
With both of these now resolved, the admin interface is looking a lot healthier:

6.3. Pretty links
Much like theming, pretty links aren’t mandatory, but they add to the overall aesthetics of the server.
Most of the hard work was already done during the setup of the environment with the enabling of mod_env and mod_rewrite, however to complete the removal of index.php in every URL, re-open the Nexcloud config file:
Add 'htaccess.RewriteBase' => '/nextcloud', (where nextcloud is the URL location – domain.com/nextcloud – of the installation) below one of the existing configuration options, for example:
Finally, from /var/www/html/nextcloud, run:
From:
To (don’t simply refresh the page, remove index.php from the URL and load the page again, otherwise it looks like it doesn’t work):
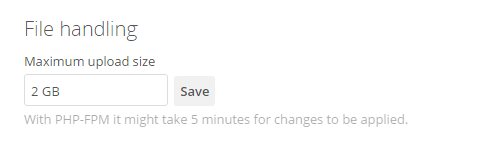
6.4. Max upload
Until we try to upload files this is easy to miss. By default PHP ships with a file-upload limitation reminiscent of file sizes in the early 2000’s – 2MB. As we’re installing a personal cloud that may hold on to files gigabytes in size, we can change the PHP configuration to allow far more flexibility.
Open the php.ini file (7.0 may need to be replaced with a newer version of PHP, like 7.2):
The max size can be tweaked to suit, however be sure to always give post_max_size a bit more than upload_max_filesize to prevent errors when uploading files that match the maximum allowed upload size.
Restart Apache:
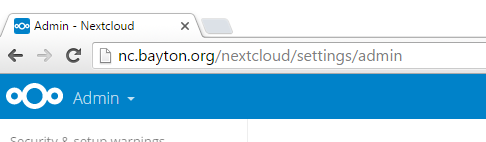
Log into the admin area of Nextcloud, navigate to additional settings and ensure the max upload setting there reflects the change made to the php.ini file (in this example, 2GB):
6.5. Nextcloud 12+ PHP Opcache
From Nextcloud 12, additional configuration is required in order to correctly setup PHP Opcache. The following error displays until this is completed:

Re-open the php.ini file:
Save the file and restart Apache:
On refreshing the browser, the warning should no longer be there.
6.6. Server-side encryption (optional)
As we’re running our Nextcloud installation on a remote host, far outside the confines of our internal network, it’s a good opportunity to enable server-side encryption. This guarantees that should anyone gain access to the data hosted on the server, file contents won’t be readable.
6.6.1. Encryption can lead to data loss
Encryption is a complex topic and getting this wrong will lead to data loss. Generally, using Nextcloud server-side encryption is not needed or recommended and instead you should strongly consider client-side encryption, or other methods of enforcing OS filesystem encryption instead. Continue at your own risk.
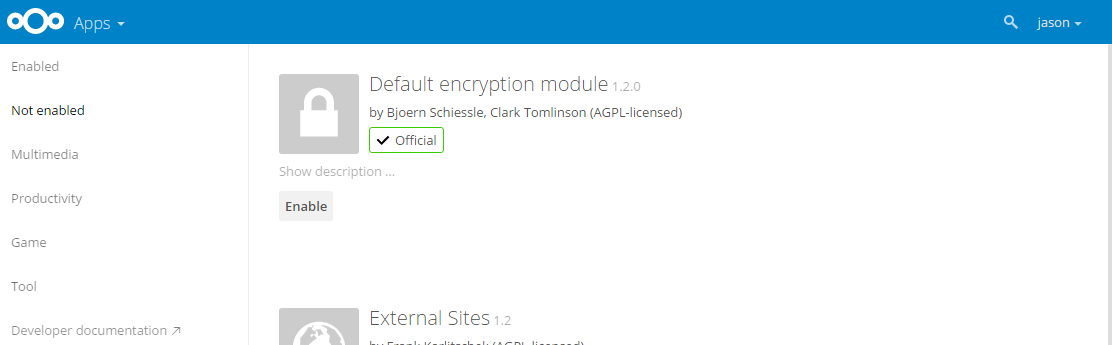
First we’ll enable the default encryption app:
- Click the Files link and switch to Apps
- Click Not enabled from the side-menu
- Click Enable on the Default encryption module
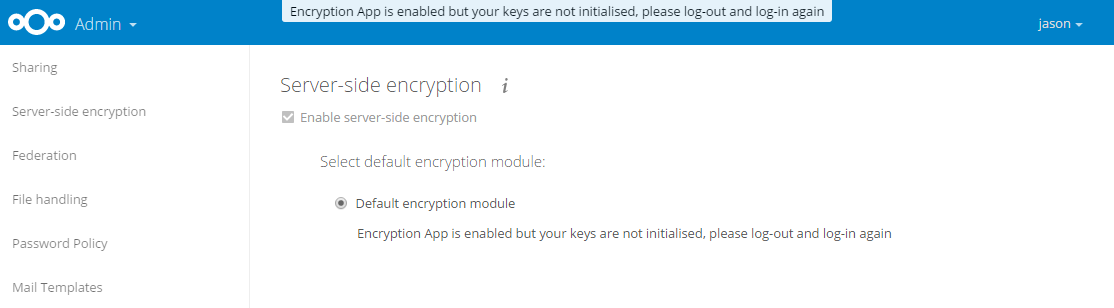
Next we’ll log into the Nexcloud administration area and navigate to Server-side encryption. Click Enable server-side encryption:
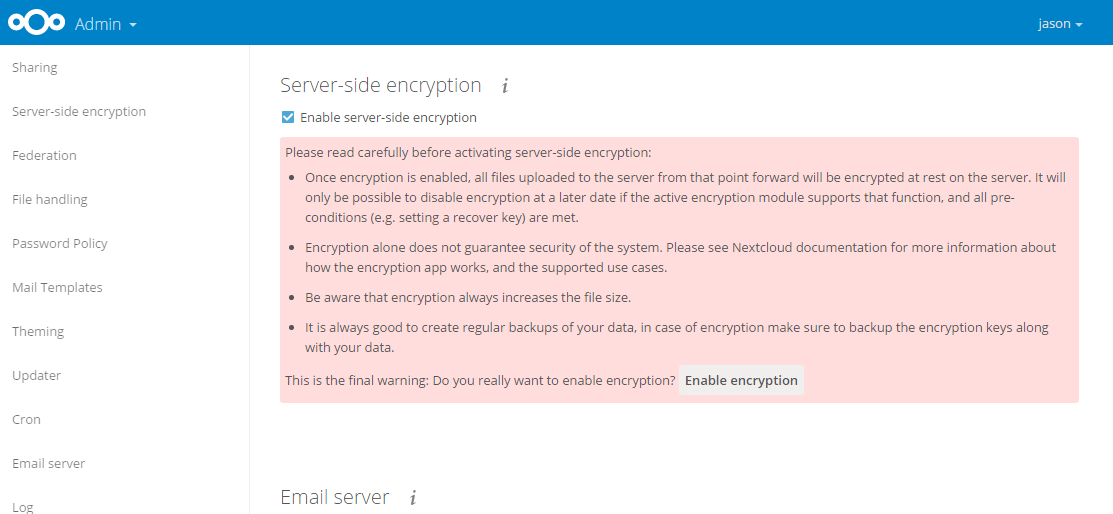
After reading through the warnings, click Enable encryption. We now need to log out and back in:
After logging back in and returning to this area, it will be possible to create a global recovery key:
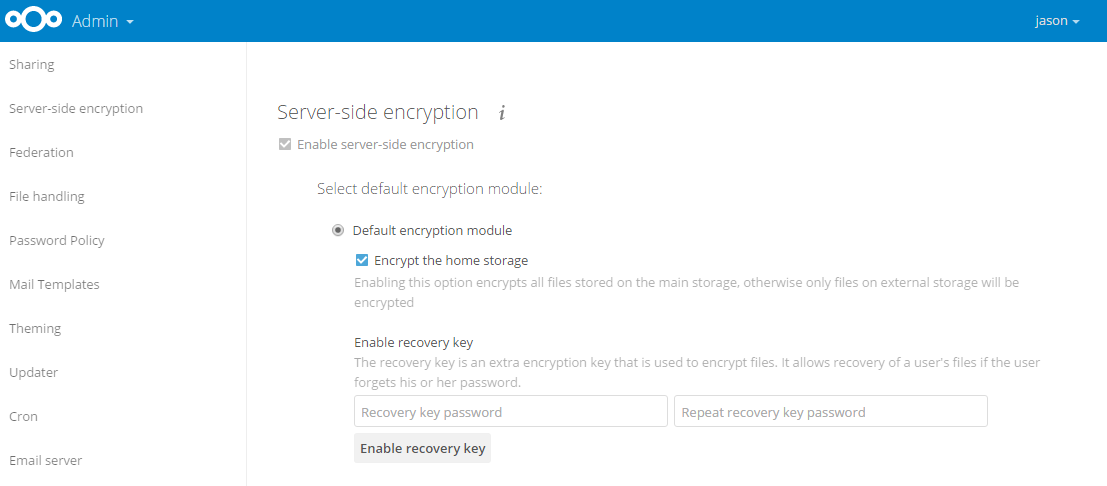
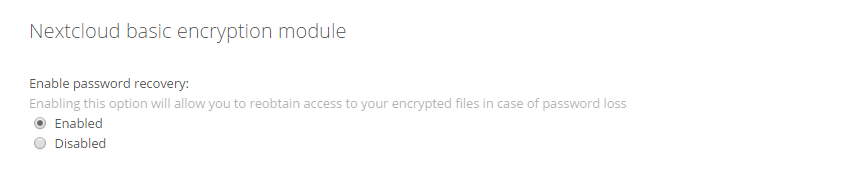
However, if a global recovery key is considered too all-powerful, individual users may also recover encrypted files with their password by setting the following option to Enabled in Personal located when clicking the username in the top-right of the screen:
All data will now be encrypted at rest, as well as protected in transit when using SSL.